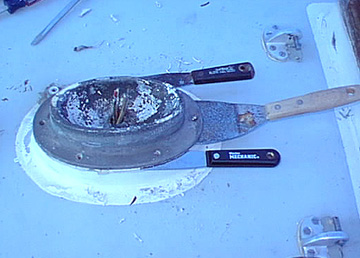
This project became necessary after a small mishap in the boatyard while unstepping my mast prior to wintor layup. A miscommunication between yard workers and my crew nearly resulted in the mast being dropped into the Niagara River. Fortunately, no one was hurt and the only casualties were the wiring harness to the mast and a turnbuckle on one of the upper shrouds. You may notice in the first few photos that the metal conduit for the wiring harness is missing and that the wiring harness is rather shorter than unual.

Once you have the screws removed, force a thin object between the aluminum step and the fiberglass deck pedestal. Be careful, as the deck chips easily, particularly near the edges of the pedestal. As you begin to work a small gap between the step and pedestal, begin forcing larger (i.e., thicker) wedges between the step and deck. Work your way around the entire step as uniformly as possible.
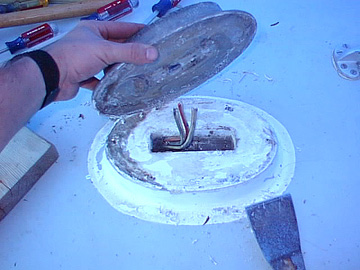
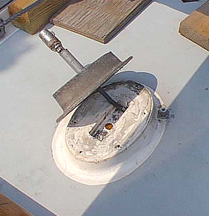
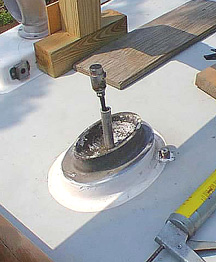
Note how my mast wiring was sheared off when my mast was dropped during unstepping last fall. Also missing is a short (6-inch) stub of pipe that extends straight up through the center of the mast step. The purpose of this pipe stub is to prevent water from leaking into the cabin.

Note the way the wiring comes up through the deck. There is a small hole drilled into the aft, port corner of the slot in the pedestal. The hole is just large enough for the existing wiring harness, but a few more could be made to fit if needed. The problem with snaking additional wiring through this hole is in the complete lack of access to the wiring harness.
In order to get to the wiring harness, one needs to disassemble some of the joinery in the head. Check out the page on this web site that describes the replacement of the mast wiring for the next few steps in the sequence. (After viewing that page, press the BACK button on your browser to return here.)

In keeping with nautical tradition, I placed a copper coin under the mast step. In this case, I felt it was appropriate to place a penny that was minted the same year the boat was built - 1965. The coin is held in place with a small dab of LifeCaulk. Since it doesn't touch anything but fiberglass, there is no danger of galvanic corrosion taking place.

FYI - The 4x4 bracing in the background is one of the three "saw horses" I use to support the mast when it is unstepped for winter layup.


