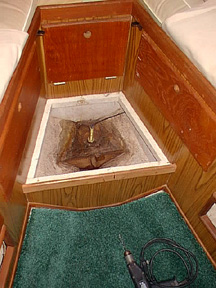
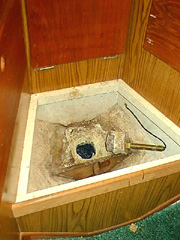
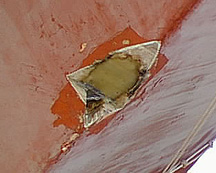
 Try as I might, I could not get my 30-year-old depth sounder to work. The worst part of replacing this sounder is the fact that it has been glassed into place, as shown in the photo to the left.
The first task, as you can probably imagine, involved a drill and chisel to remove the old unit. Since the fiberglass is over 4 inches thick in this area, this part of the job is much easier to describe than to actually do. On the bright side, this was an excellent way to vent some built-up tensions that had accumulated over the winter.
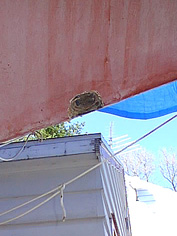 On the outside of the hull, the old transducer was located behind a thin film of fiberglass that had been used to fair the surface. The surface was simply pulled away in order to expose the bottom of the transducer.
Later, the exterior opening was cut back somewhat to provide a reasonably symmetric opening with some flat surfaces nearby to facilitate the mounting of the new depth sounder transducer. After cutting the inch-thick layup with both a hacksaw and a keyhole saw, I have a deep respect for the strength of the Alberg 35 hull!
Since the transducer is teardrop-shaped, there is a "V" cut back into the hull to accept the trailing edge.
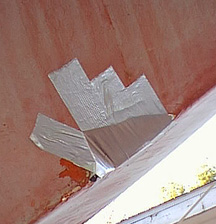 The next step was to plug the hole in the hull. To keep the goop from falling through, I laid some duct tape across it as a form. The top side of the tape was then "painted" with epoxy and several layers of glass were laid down. This was followed by 1/2-inch of plywood, some more fiberglass and epoxy with a high density filler, another 1/2-inch of plywood and topped off with more glass, epoxy and filler.
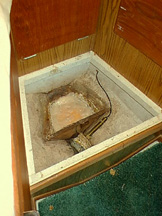 Once the mixture had cured, the tape was removed and the exterior was painted with unthickened epoxy as a sealer. To pretty up the interior, I mixed up additional epoxy with a white pigment and thickener and poured this on top of the transducer site to produce a relatively flat, reasonably smooth, clean-looking surface. I was initially concerned that the epoxy by itself might be rather brittle, but after drilling up through it, it left a nice, clean hole without chipping.
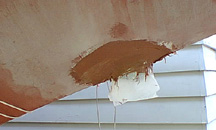 Next the area near the transducer was sanded to remove all of the old bottom paint and rough up the surface of the gel coat. The new transducer was wrapped in a layer of cardboard and wax paper, then bolted into place. Some fiberglass body filler was then mixed up and used to fair the surfaces around the sounder.
The purpose of the wax paper was to prevent the body filler from bonding to the transducer. The purpose of the carboard was to leave a small gap between the transducer and the faired surfaces so that the transducer could be removed for servicing if needed. This gap will eventually be sealed with a bead of polysulfide caulking before the boat is launched.
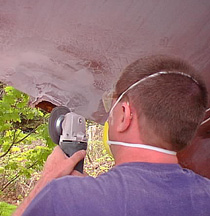 After the body filler had kicked, the transducer was removed (with a bit of persuasion) and Tomfoolery crewmember Mike sculpted a nice fair surface with a grinder.
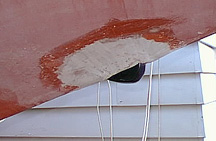
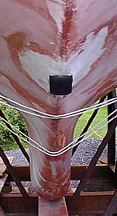 Here you see the finished product with the transducer mounted in place. Black LifeCaulk was used to bed the transducer and the surrounding fairing was painted with bottom paint the day after this photo was taken.
To see how the control head for this piece of equipment was installed, check out the section detailing the replacement of Tomfoolery's instrument panel.


